A while ago we had organised a tank to replace the tiny one that was attached to the shed. Tanks take time though, so we didn’t expect it to come quickly. Time passed… All of a sudden, with very little warning we discovered that the tank was due to arrive and of course I’d been concentrating on other things so the area wasn’t cleared properly yet! With the help of the WWOOFers we had at the time, we pumped the small tank empty and shifted it to the poultry yards where it could have a useful temporary home. Then came the clearing process. It turned out to be quite a big job.
The bushes came away easily as they are a shallow rooted (or so we thought) variety. However, underneath that camoflaging layer was the remains of an old stone wall and the tank that was coming was BIG so to fit it in that needed to be levelled, ie: digging out all the stones down to ground level to remove the mound from where the wall had fallen down years previous and melded with the landscape. The wall was made of very large stones so it was hard work but the lovely WWOOFers put in a Herculean effort and got it down to ground level.
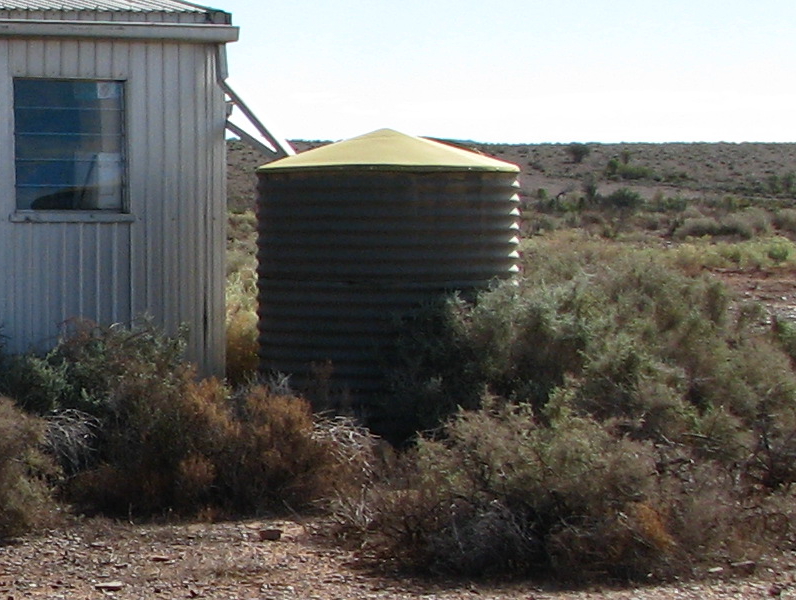
Then the tank arrived. It was even bigger than we thought! In fact it was bigger than the shed, well taller anyway. This presents a problem when you want the water from the roof of the shed to run into the tank with maximum efficiency/minimal storage loss. The only solution is to sink it into the ground. Cue a lot of digging. The hole required needed to be 4.5m diameter and 40cm deep from the level at the base of the corner of the shed. Not only was that a massive volume of dirt to shift, but the stone wall had foundations (with some truly phenomenal rocks in it) that went a way below the ground level and those shallow rooted plants actually turned out to be deep, fragile rooted plants which broke off easily and left behind a network of woody booby traps to contend with. It took over a month to do with the help of 7 other people (WWOOFers and visitors) through that period it was achieved and what a relief that was!

I also cut out a ramp for the wheelbarrow to get the dirt out and then, when it was deep enough for the tank I sank the ramp down a further 80 cm so that the wheelbarrow could be positioned under the tap. There is nothing more frustrating than not being able to get underneath a tap at the bottom of a tank! All the original tanks here suffer from that problem, but not this new one 🙂
Before we could position the tank though I needed to sift some shale and line the base of the hole so that there was a soft, level base for the tank. With a future 27,000L of water to be stored there it is vital that the base is prepared properly so as not to puncture the base of the poly tank – that would be a disaster. I also put up the first part of a dry stone wall where the tap was going to be situated so that the tank could rest on the edge of it when in position. Finally…. we were ready to put the tank in position… to be continued 🙂


It is exciting to watch your place taking shape, you did a great job! 😀
Thanks! There’s a way to go yet (and many blog posts to come) but it is starting to feel like we are getting somewhere 🙂