
Earlier in the year I wrote about how we had progressed on the construction of the first mortared stone masonary project: the Outdoor Kitchen
After much continued work around our other tasks I am happy to say the the next stage of this project is complete, meaning all the stone work for the structure is done!
There was a fair bit involved to get to this point, first as soon as the walls were up to height Kellie and I donned our stunning protective gear and wire brushed the walls in preparation for pointing them.

This was necessary as all our hard work was based on three sides on the work of the previous owner who had used a more lime rich mix for his mortar and it had therefore degraded quite seriously in some areas. No point doing all the work on top if the bottom falls apart over the next few years.
Then, having got completely covered in dust we proceeded to put back what we had just scrubbed out, but with new strong mortar. Then, scrubbing back the rocks to neaten up the joints….

Click image for a larger version
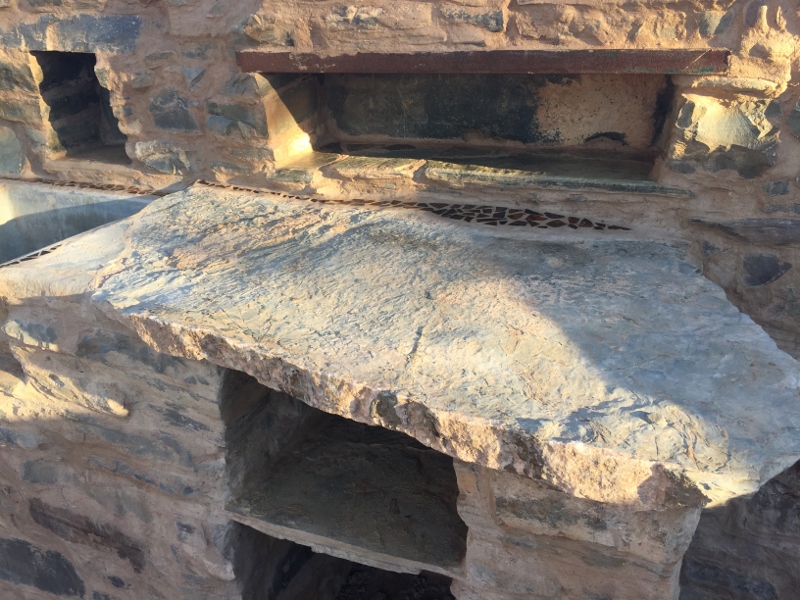
The last photo in the series is after the acid wash, but before that could be done we had to actually finish the stone work – the walls weren’t the end of it, we needed to build the structure on which to install the large cement sink we were re-purposing out of the tiny laundry where it was far to big and put in a bench using a large piece of slate.
Kellie and I worked diligently at it but it was just to the point where we could put the sink in when Kellie had to move on so we said our sad goodbyes and work slowed noticeably.
Over the next month I worked slowly at finishing the structure and then finally (with heavy lifting assistance from Noven) the sink and the bench were in!

Next step: Acid wash. Stinky (even with an acid vapour respirator), slightly scary but well worth the effort for the resulting clean stones.
Moving right along now that the end was so close in sight, I laid a small section of mosaic in the final join of the bench and sink to the wall. This will tie in to the mosaic using the same tiles in the slated area directly next to the structure.

Finally the last step! Sealing the top of the walls and the area behind the benches to protect it from spills and the harsh environment. DONE.
Next steps: Plumb the sink outlet, lay the floor and then the roof and a resin top for the slate bench… I really hope to get this completely finished in the next few months… when we aren’t planting trees. In the meantime this is where we are at:

This is the corner where the BBQ will be positioned. The utensils hook is an old garden fork I found half buried in the yard. I’m very glad it was points down when I found it and that it’s been reused where it’s not going anywhere now.


