Well, the last 6 months have been busy with planting and the like, we only had a couple of WWOOFers (and only one for 3 weeks of the planting season!) so not as much productivity in that time as I would like, but still, when I went out to take the progress photos I realised that we have still made some significant steps.
This year we have:
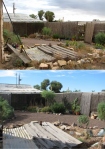
- Cleaned and sorted all the ‘junk’ around the yard
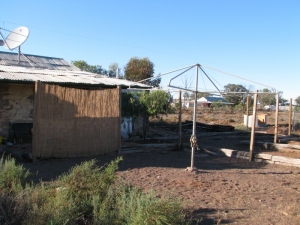
- Put up the Tank Stand
- Continued to build the sculptural stone edging wall along the east side all the way to the front fence
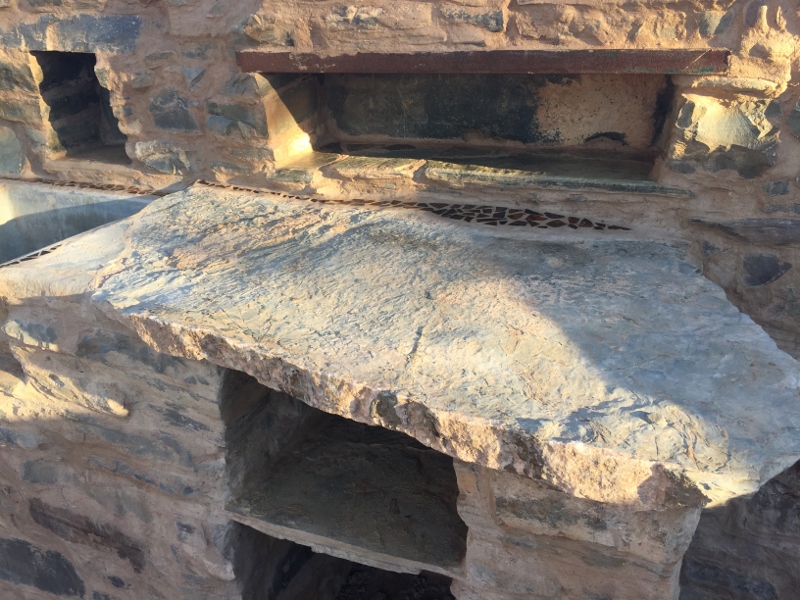
- Done all the stone work for the walls of the Outdoor Kitchen
- Positioned and connected up the small Header Tank
- Cleaned down the old stone work in the Outdoor Kitchen and built the sink/bench
- Planted significant areas with native trees as planned (I personally planted around 250 trees this year – a personal best 🙂 )
- Extended the Orchard plantings all the way around the play area and along the front end of the western driveway
- Trenched pipes across the driveway in two more places and connected the new plantings to the irrigation system
- Grew a patch of barley…
- Sourced and placed logs for the seating in the Bonfire Area
- Laid the floor of the Outdoor Kitchen and moved the BBQ in so we could start using it!
- Finished the trampoline hole and installed the trampoline in the ground where it now gets significant use
- Dug the hole for Brigid’s Well
- Put in the posts for the roof of the Outdoor Kitchen
- Installed a clothesline
- Built half of the Garden Shed
- Tried (mostly unsuccessfully) to keep on top of the weeds
-
- Back Shale, Faerie Garden & Shade House from the Well
-
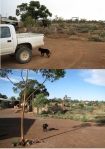
- Bonfire Area
-

- Poultry Yards
-
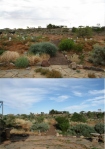
- Circle, from the North
-
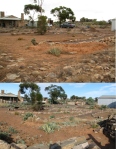
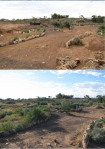
- View from the East corner
-
- Entertaining Area
-
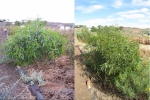
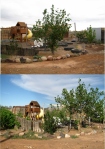
- First Tree
-
- Front Hill
-

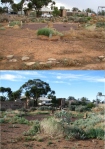
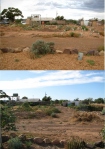
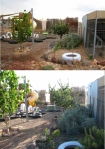
- View from the North corner
-
- View from the North East
-
- View from the North West
-
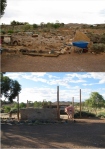
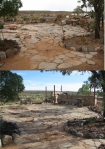
- Outdoor Kitchen
-
- Play Area/Orchard
-
- Play Area/Orchard
-

- View from the South Corner
We are now looking forward to meeting our new WWOOFer next week and getting some more projects completed. So far, on track to be finished the major yard works by the end of next year…